Find new potential B2B customers - VisionSphere

|

User manual

Search
Close this search box.

Dashboard and new campaign

Index
Once you have a VisionSphere account, you can access the platform via the link https://visionsphere.ai/
Login Page of VisionSphere
VisionSphere’s login page

After logging in you will see the “Your Campaigns” section, where you’ll have the ability to:

  1. Create a new campaign
  2. Access the details of the campaigns created
VisionSphere screen: access to the campaign view screen
Main page “Your campaigns”

Creating a new campaign

After logging in, you’ll see the “Your Campaigns” section, where you’ll have the ability to:

  1. Create a new campaign
  2. Access the details of the campaigns created

Survey

VisionSphere’s initial survey consists of 9 questions through which you’ll be required to provide some information based on the objectives you define. First, you must identify the country and language in which you want to create the campaign, the services or products you offer, and for which you want to find interested companies, and the size of your potential target companies.
When you have completed the survey, you will then have provided the software with all the data it requires to monitor effectively.
The last step requires you to enter a few potential example target companies. VisionSphere will suggest others until you reach the limit of monitorable companies in your account. You can mark some example target companies that you enter as “existing customers.” In this way, you’ll exclude them from active monitoring.
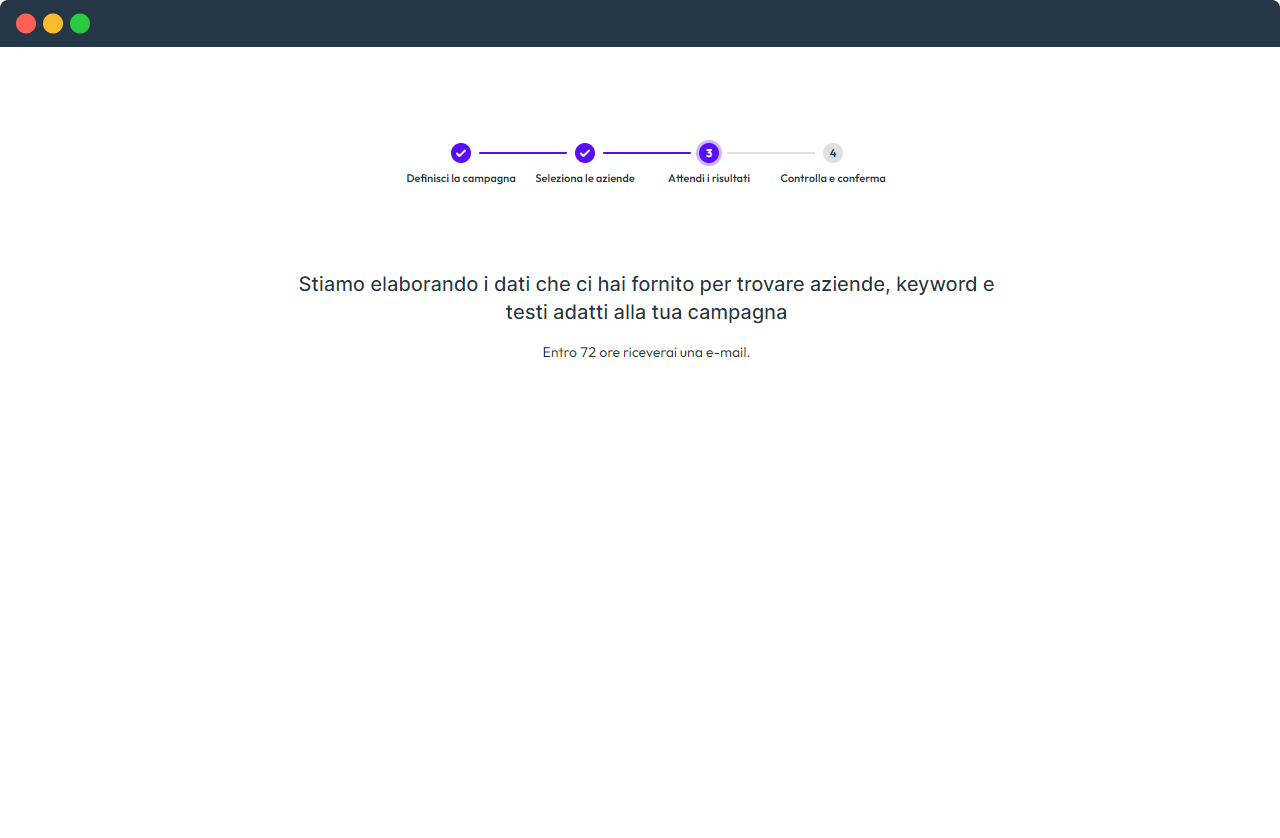
When you have finished entering all the required data, you can confirm the processing of the campaign; VisionSphere will take it over and begin processing the data.
You will receive an email when the data is ready, and you can check the data before creating the campaign. This process can take up to 72 hours.
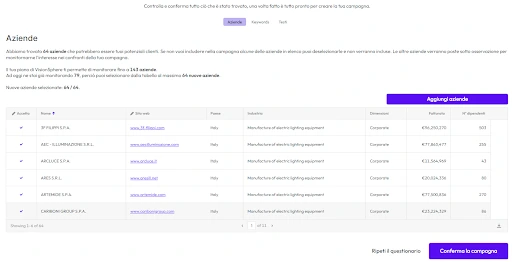
Confirmation page of the survey

Survey Results

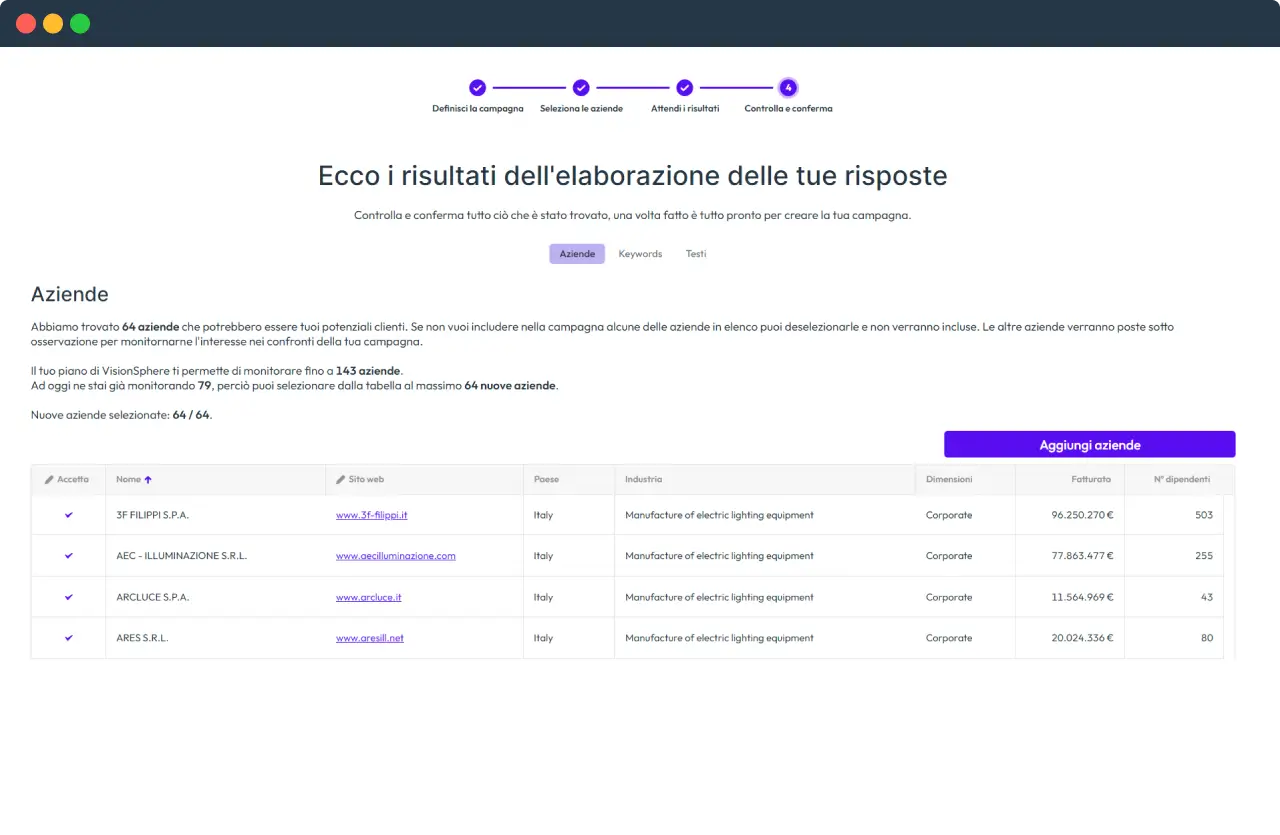
After receiving the email that data processing has concluded, click the link to access the data, edit it, and confirm it to create the campaign.
Survey Results Page
Survey Results Page

This section is divided into three sections, each of which contains key campaign data that you will need to verify and edit, if necessary, as follows:

  1. Companies: a list of companies that are on target with those provided with the survey, identified by a logic of similarity (related to, among others, industry sector and size, respecting the target turnover set in the survey). For each proposed company, you can view the company name, domain, industry, size (defined according to 4 ranges: Big corporate, Corporate, Medium, and Small), turnover, and number of employees. Please note: companies that do not have a website will not be included in the monitoring, even if accepted, so you will need to delete them. In case the survey returns an incorrect website, you can edit it by writing in the correct website. Remember to save changes with the “Save Changes” button. “Saves” can be made as many times as you like. In case you make a mistake in deleting a company, you will be able to include it in the list again.
  2. Keywords: a list of keywords on-target with those provided within the survey and identified for similarity logic. They are also present in English unless this wasn’t set as the target language during the survey.
  3. Sources
All items above can be approved or discarded via the “Accept” column. If the accept checkmark is removed, the company, keyword or text will not be included in the campaign.
If you notice that you added incorrect information to the survey, you can always start over by clicking the “Repeat Survey” button in the lower right corner.
When you are satisfied with the list of companies, keywords, and sources, you can create your campaign by clicking the “Confirm Campaign” button in the lower right corner.
Survey acknowledgement confirmation page (2)